Showing posts with label tutorial. Show all posts

Friday, April 10, 2020

Face mask tutorial

Well, it's happened. Mass panic has set in, people are worried about catching the corona virus and masks are becoming increasingly scarce. My mom, known around these parts as "grandma" to all the animals, works at a pediatric health clinic and even their supply of masks is dwindling down. Because of this, and because my mom can't seem to stop volunteering for things despite having little time and less energy, we have gone into mask production, making masks for nearly everyone at the clinic. We mostly followed directions we found online, with a few tweaks to make them work better for us and be a bit quicker to make. The following is a rough tutorial with a few pictures to try and make it easier to understand. Here's hoping you don't need this post, but if you do I hope it helps.

Face mask tutorial

Supplies needed: 
1 piece of hand bendable wire, approximately 6 - 7 inches long, thin but not too thin if that makes sense
2 pieces of 1/4 inch elastic, 7 - 7 1/2 inches long
1 piece of preshrunk flannel, 6 x 8 1/2 inches (black fabric in photos)
1 piece of preshrunk cotton, 8 1/2 x 15 1/2 inches (pink fabric in photos)

Steps:
1. Serge or zigzag stitch the two shorter (8.5 inch) edges of the cotton fabric, and all four sides of the flannel fabric.

2. Fold the cotton fabric together along the short edge, right sides together. Mark along the top, joined edge 1 1/2 inches in from the long sides, on both edges and stitch from the long edge in towards the middle using a 3/8 inch seam allowance, stopping at the 1 1/2 inch mark on each side.
Stitching 1 1/2 inches in from the edge of the long side of the cotton fabric. Do this to both sides at the edge opposite the fold.

3. Press your seam open. There will be a gap across the middle where it is not stitched.
Pressing the seam open, one edge is not serged as it is a selvedge edge, otherwise it would also be serged.

4. Mark one side of the fabric 1/2 inch from the seam and fold along that line. Press. Slip the flannel fabric under the seam allowance - matching up the 8 1/2 inch lengths, butting it up against the seam edge. The flannel should cover most of the cotton fabric down towards the fold. Do not worry if the flannel doesn't reach all the way to the bottom folded edge. 

1/2 inch folded edge is showing, flannel is under the seam allowance, butted up against the seam edge.
5. Unfold the fabric and sew along the seam allowance on the flannel side, capturing the flannel in the seam. You will be sewing in a tube so that you don't stitch the two sides of the cotton fabric together. 
Sewing the flannel to the cotton, under the cotton seam allowance.
6.Trim the corners of the bottom of the cotton fabric - along the fold, just a teeny amount, about 1/4 inch, so that you can slip the elastic into the corner more easily.


Cutting a small (approximately 1/4 inch) triangle out of the bottom two corners (along the folded edge of the cotton.)

7. Place the mask so that the flannel side is up, folded edge of the cotton is along the bottom and the gap or pocket in the mask is near the top. Stick the first piece of elastic in the top right corner of the mask, between the two layers of the cotton fabric, sticking out just slightly so you know you are catching the elastic when you sew. Anchor your stitching then start sewing (with the smallest seam allowance that will allow you to catch all three layers of fabric but especially the two cotton layers in the seam) from the top right corner to about halfway down the first side of the mask. Leave the needle in the fabric and the presser foot down while you stop sewing and feed the elastic down to the bottom right corner, being careful not to twist it inside the mask. Poke the elastic out of the cut in the corner you made in the previous step, letting it stick out just a little bit (a couple of millimeters or so.)

8. Keeping the needle in the fabric, continue sewing down the side while you hold the elastic in place, then turn the corner and sew along the folded (bottom) edge a scant 1/8 to 1/4 inch seam. You may not catch the flannel in the bottom seam and that is okay.

9. Before you reach the corner, place the second piece of elastic in the bottom left corner of the mask, poking out just a bit. Sew around the corner and back up the left side of the mask, catching all the layers like you did on the right hand side. STOP SEWING AT THE SEAM LINE FOR THE POCKET OF THE MASK, DO NOT GO ALL THE WAY TO THE TOP ON THIS SIDE. Anchor your stitching. Leave the elastic inside the mask, don't worry about sewing in the second end of the elastic yet.

10. Turn your mask right side out once you are sure you have caught both layers of cotton in your stitching. When you reach the last corner, where you stopped sewing, turn out carefully, leaving a small amount not turned out so that the wire casing has a neat finish to it. (It should roughly line up with the rest of that side when the rest of the mask is turned out.)  Press.
The mask, turned right side out, with the last end of the elastic not yet anchored. 

11. Sew a casing for your nose wire. Stitch along the top edge of the mask pocket with at least 3/8 of an inch from the top of the mask. Anchor at both ends. 
Sewing the casing

12. Take your nose wire and a wire tool and carefully turn the ends of the wire in about 1/4 to 1/2 an inch towards the center and clamp down. This makes a rounded end at each end of the wire to protect your face.

13. Slide the wire into the casing. After the wire is in place, slide the loose end of the elastic into the casing a short distance as well. Shift the wire down to the opposite end of the casing so that you don't break a needle by hitting the wire when you sew the casing closed.
Sliding the wire into the casing.

14. Sew the casing closed, making sure you are sewing over the end of the elastic as well, going over your stitching a couple of times to anchor it.


15. Turn your mask so that the pocket side is facing down and create 3 pleats, pinning in place. You want the pleats to be heading downwards, towards the bottom of the mask (the top side being the edge with the pocket in it.) I usually just estimate the pleat size and spacing, trying to get them close to the middle of the mask and roughly equal in size. Press well to hold the pleats in place while you sew them. If you press well enough the pleats will hold fairly well and you can remove your all your pins on one side to sew the pleats in place. 

Pinning the pleats in place on the mask. The top of the mask in this picture is actually at the bottom of the photo, the pleats are facing downward.

16. Sew your pleats in place, with approximately 3/8 inch seam allowance.

17. Your mask is ready to wear. The pocket side is the side that goes against your face and you can place a filter of your choice inside if you so choose.

Monday, November 11, 2013

Sewing needle tote tutorial

Because I can't seem to resist a sale, I have amassed an impressive collection of sewing needles; but I hate the packages they come in - those stupid plastic holders never seem to want to surrender the needles without a fight. Annoying needle packages + fabric scraps I wanted to use up + a chance to procrastinate on the things I should be doing = a sewing needle tote tutorial!

Step 1: Gather supplies. Some felt fabric, mine was 4x7 inches. Cotton fabric, I used a piece 17x21 inches, a cutting mat and rotary cutter - regular and pinking (or fabric scissors), a sewing machine.


Step 2: Iron your cotton fabric, then fold in half, right sides together, leaving the third side open.


Step 3: Turn right side out and press the open edge under about half an inch, toward the inside of the fabric pocket.

Step 4: Topstitch around the entire piece.


Step 5: Fold each end in to meet in the middle, on the long edge.


Step 6: Fold the bottom and top edges in towards the middle, forming a pocket.


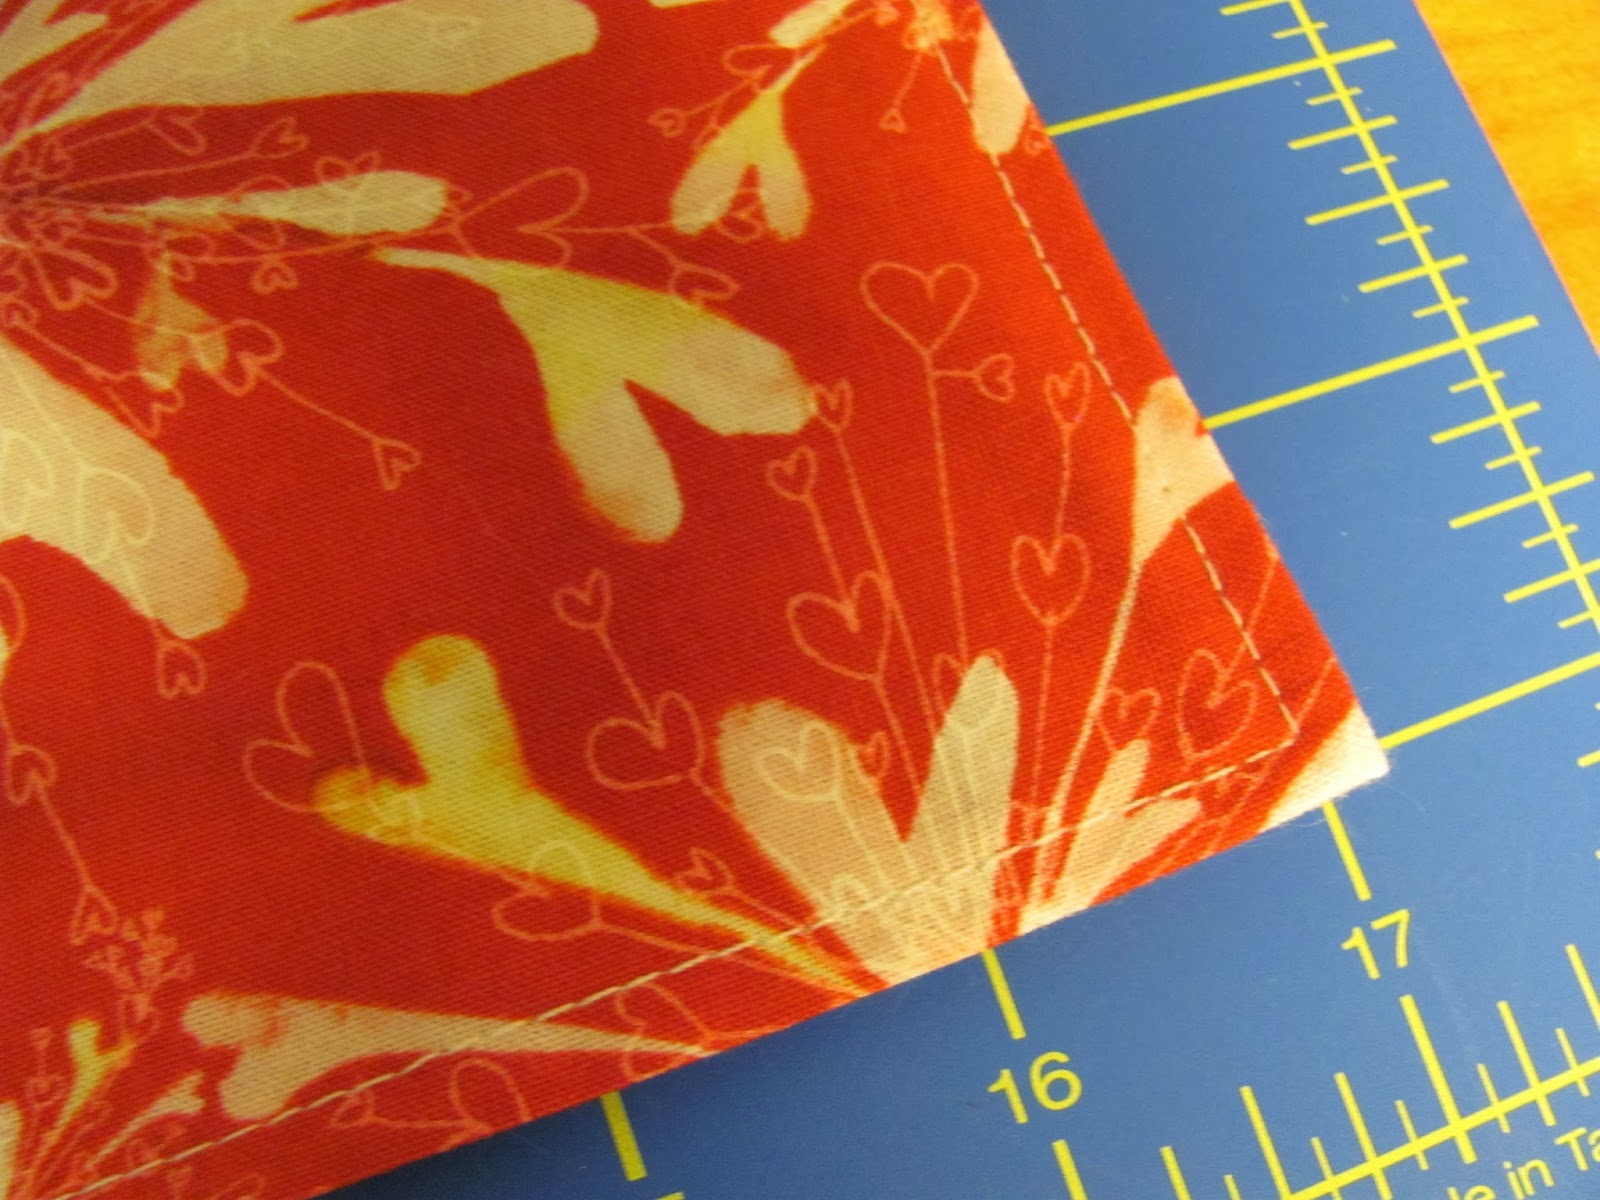
Step 7: Measure the size of the folded fabric. Mine was 8 inches long, 4.5 inches tall.


Step 8: Cut some felt slightly smaller than the folded size. Use pinking scissors or a pinking rotary blade if you want to make it look nicer. I cut mine 7 inches by 4 inches.


Step 9: Take a pin and mark the center of your folded pocket.


Step 10: Cut a piece of ribbon long enough to tie around the pocket. 


Step 11: Sew this to the center front of the pocket


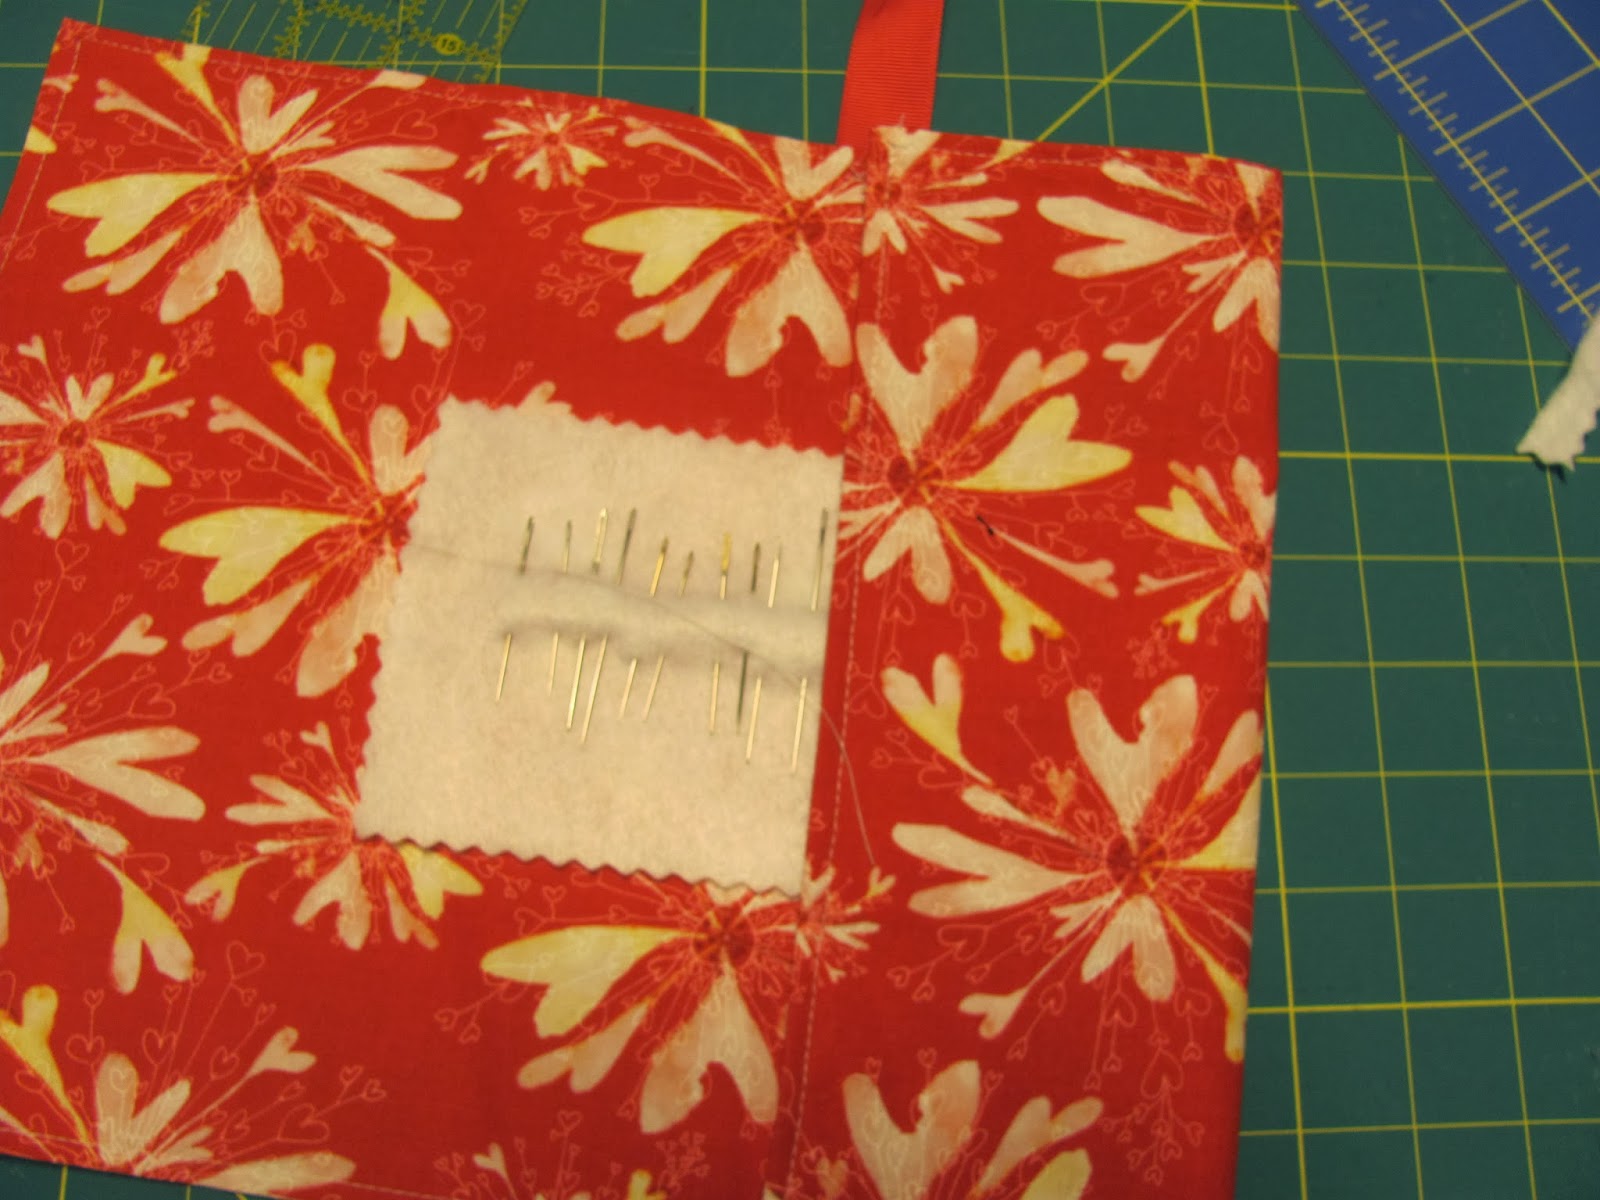
Step 12: Organize your needles by pinning them through the felt sheet. (Or sheets plural, if you are anything like me.)


Step 13: Unfold your pocket fabric and put your needle sheets in the center of your fabric. Fold the pocket up around it and tie the tote closed. Voile! You're done - go enjoy your new tote.

Sunday, September 1, 2013

DIY Unfarm swimming pool

I love to swim. (Or, to be more accurate, I love to doggy paddle.) What I do not love is public pools. I am both extremely shy and less than pleased with my weight right now so the thought of a public pool has as much appeal as a root canal. 

This poses something of a dilemma as we do not have a pool of our own. Aside from a lack of horizontal space due to the location of the Unfarm on a slope, we also have a lack of one other critical resource: money. As with most cases when we are faced with a lack of finances, I was forced to get creative. The solution I came up with is far from ideal, but it serves the critical purposes of cooling me off and allowing me a place to "swim" (read doggy paddling and kicking.) And so, the Unfarmgirl swimming pool was born. 


True, it looks remarkably like a 2 foot wide, 3 foot deep, 8 foot long metal livestock tank, but make no mistake: it's a swimming pool. Should any other Unfarmgirls out there want to learn how to make this Unfarm swimming pool, I have put together a tutorial to explain the complicated process. Ready? Got your pencil handy to take notes? Here we go.

DIY Unfarm swimming pool tutorial

Step one: Purchase livestock tank of appropriate size. If you can find it, a three foot wide tank would probably be a bit nicer, but a two footer will also work. 

Step two: Bring said tank home. 

Step three: Find appropriate location for tank and position it. A spot that gets some sun and is relatively flat works best.

Step four: Fill tank with water

Step five: Enjoy!

Did you get all that? I know it can be a bit overwhelming, but take it one step at a time and I'm sure you'll be able to manage it.