Showing posts with label patio. Show all posts

Thursday, November 5, 2020

The catio, and how it came to be

Max is a lover of the great outdoors. He likes to look at the great outdoors, smell the great outdoors, and - most importantly - be in the great outdoors. This would be fine if he were a dog and thus easily contained behind fences. Alas, he is a cat and fences prove little obstacle for him. He can wiggle over, under or through our fences and is therefore not allowed to be in the great outdoors. (Too many dangers for a small creature like him to be exposed to around here.) To make it up to him, and to try and curb his desire to dart out any door open longer than about 2.3 seconds, I wanted to build him a catio. You know, a patio for cats. Dad, however, was not so keen on my idea to fence in under the front yard deck to give Max a place to hang out where he could be safely contained but still enjoy the outdoors. "It will look ugly and cost too much money," he claimed. 

 So I did what any good daughter would do: I waited until he went on a trip and did it myself. (That is how many of our projects get done around here.) One weekend, while Dad was on a bike trip and Mom was at a medical conference, I gathered the lumber and hardware cloth from Home Depot and put the catio together. The hardest parts of the entire project were digging out an enormous concrete footing from a previous decking project that was in the way, and getting a roughly 15 foot long 2x6 board into place 5 feet up off the ground. The rest of the project was relatively simple. I built wooden frames that I screwed to the underside of the deck so that I had something I could attach the hardware cloth to. I put in a door so that we could access the catio, or so that in case of emergency someone from inside the house would be able to get out, and added a small cat house and then some bark dust to keep the mud under control. The last thing I added was a cat door in the existing house window and I was finished. All told, it took about 3 days from start to finish. Mom was quite pleased as she had always been on the catio bandwagon. Once Dad got over the surprise he seems to have accepted it as well. He will occasionally even say to me, "I'm so glad I convinced you to build that catio for Max."

Max seems to be quite content with his new catio. Granted he would likely prefer it if it were in the sun so that he could lounge around when the weather is nice but he does go out there quite often, especially at night when he can hunt for whatever little creatures it is that he hunts for. Bugs, moths, little shrews that he brings - still alive - into the house with him for Mom to find in her office... you know, the usual.

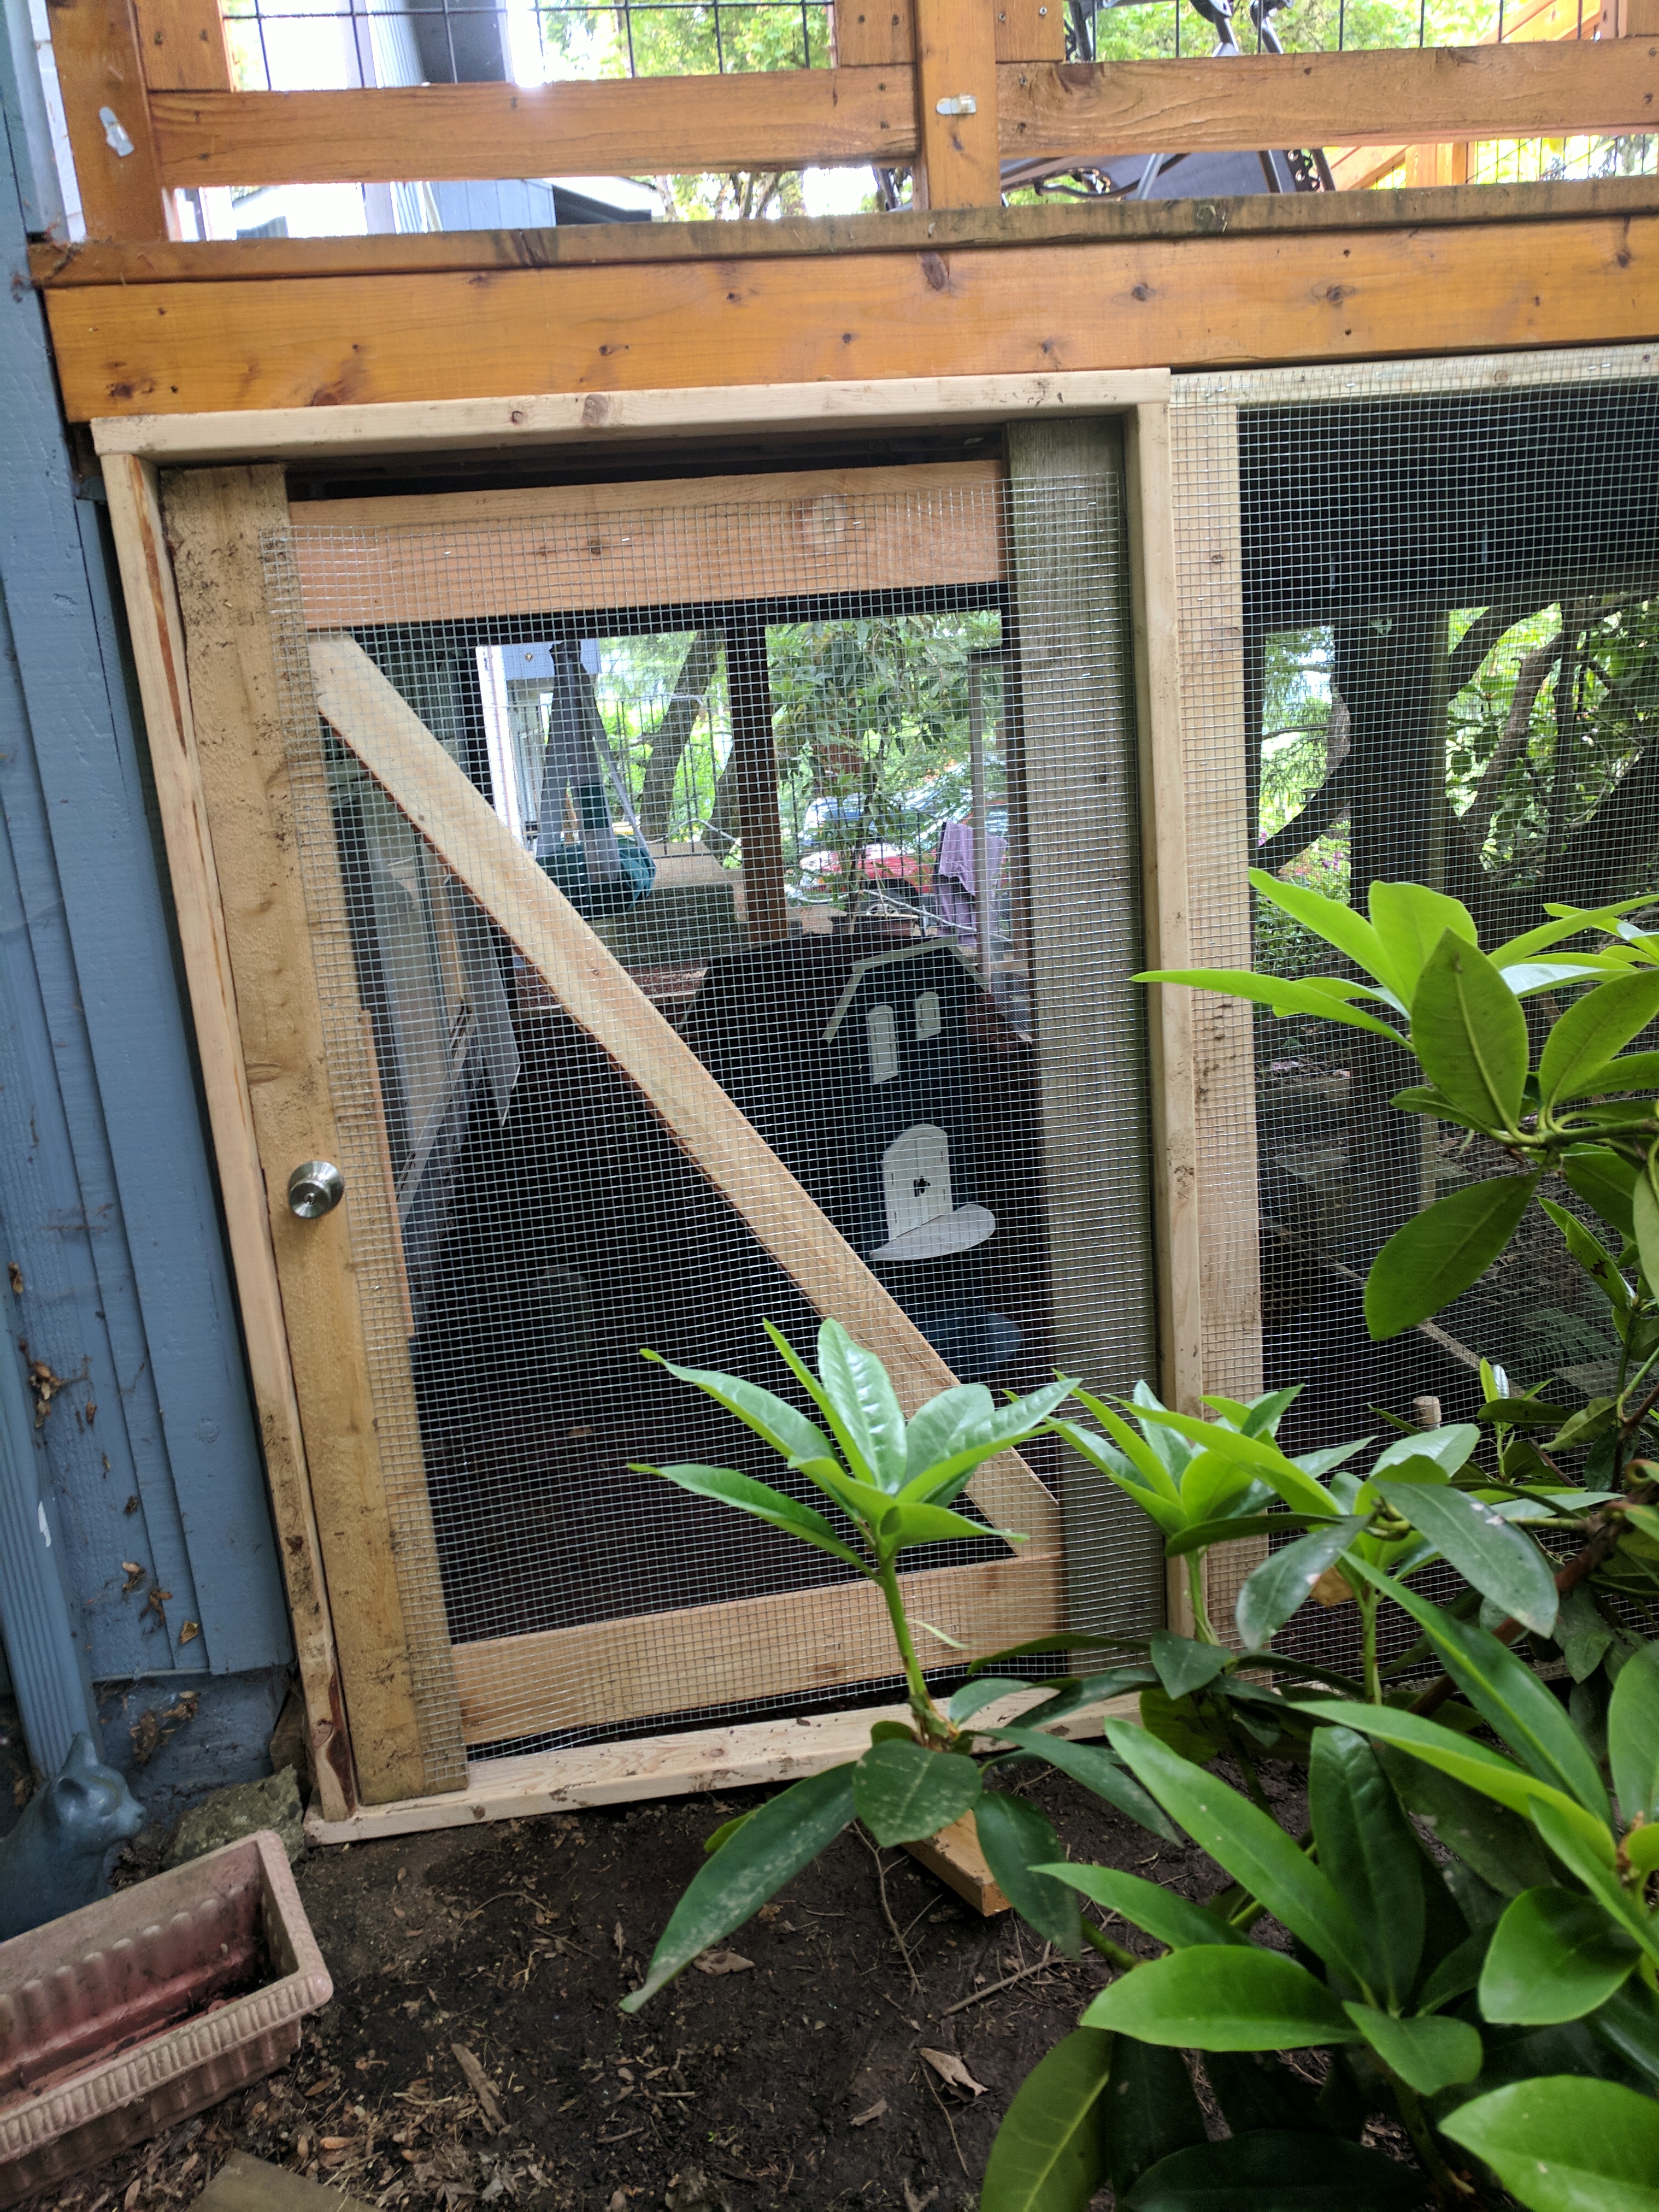
A view of the door to the catio, and the cat house inside it

Front view of the catio

Catio side view

Catio side view, with Max's hanging bed inside


Monday, August 11, 2014

Projects on the Unfarm (an illustrated account)

In an effort to make this a productive summer, I have been working on knocking out a few of our bigger projects that have been sitting around on the to-do list for longer than I care to mention. With that goal in mind I tackled a patio and a barbeque restoration a few weeks ago. I didn't think to take a "before" picture of the area where I installed the patio but let me assure you that it was your standard weed-choked patch of dirt strewn with bits of old fencing from a defunct vegetable garden that never quite got enough sun to thrive. After several days of weeding, tilling, raking, smoothing, and hauling large loads of sand, cement, and bricks in very hot weather I managed to produce a fairly decent patio.


A view of the patio from above. It ended up being somewhat avocado shaped, which I didn't realize until it was finished.
The patio from ground level.
I should mention that my preferred method of patio building is rather informal: I level out an area, set out path liner to create the desired shape, put in sand as the base and smooth it out, then place bricks inside the border. After that I pour dry cement on top of the bricks and use a broom to sweep it into the cracks. Once the cement is in place I set the hose on mist or fine spray and wet the whole patio down until the water pools on top of the cement. Then wait for it to set and voila - (not so) instant patio. The amount of patience you have when it comes to doing the prep work (getting a perfectly level base) and how uniform in size your bricks are will determine how smooth your patio turns out. I am not generally blessed with an abundance of patience, but more than that I like to use recycled materials when possible so my patios tend to turn out less than perfectly smooth. (This is my third patio built in this style.) This doesn't bother me - they still function as intended and I like the rustic look and the fact that the bricks each have their story: some were extras from when the neighbors built their walkway; a few came from the construction of the new local library; and others are over a century old - rescued when a nearby cannery was closed down years ago.

Project number two: a barbeque restoration. This time I did get a "before" photo:


Our grill, before the restoration.

Our grill was in bad shape. We had gotten it years ago second hand from a garage sale. It was old at the time and it is even older now. And years of exposure to weather hadn't helped the situation. In truth, at this point the grill consisted more of rust and holes than it did of metal. This begs the obvious question: why bother? Why not just get a shiny new grill that has a functioning temperature gauge and doesn't have an ash tray so rusted out that an old license plate is the only thing keeping the deck from burning down? Why indeed.

The answer is simple: it is my mom's grill, and it is just like her father's grill, so it reminds her of him. He used to grill fish and corn on the cob out on the covered patio overlooking the lake in the summer at the Lakehouse. When all of us - our family, and my mom's sister and two brothers and their family and my grandparents - gathered at the Lakehouse we would sit down around the huge picnic table that grandpa had made and eat the dinner that grandpa had cooked. Grandpa is gone now and the family is fractured - fighting over money and control - I'm sure Grandpa approves. (That was sarcasm, by the way.) So that is why Mom loves the grill, and that is why the grill stays, no matter what the condition.

Thus began the monumental task of sanding and scrubbing and sanding again. For hours. And then taking apart as much of the grill as I could and finding new parts: screws, trays, planks, grill plates and thermometers. I bought special paint and repainted the grill, inside and out. I bought sheet metal and made a new ash tray, retiring the old license plate. The grill did not come out perfect - I was afraid that if I continued sanding until there was no more rust there would also be no more grill. So I did the best I could and had to settle for less than perfect - a difficult task in and of itself, to know that there was still rust under there and I could do nothing about it. At any rate, the finished product:

The "after" photo. It isn't perfect, but it's better than it was.